Recipe: Lavender Lemon Curd

Lemon curd makes me think of sunny spring days and this combination of lemons and dried lavender blossoms creates a headily fragrant spread so buttery, so citrussy and rich tasting that you’ll want to spread it onto everything. I recommend a warm croissant, toasted brioche or *scone (*what we Brits refer to your ‘biscuits’ over here).

You can fold lemon curd into equal amounts of whipped cream for an extra special cake filling or as a topping for pies, fruit, etc  – and I plan to make a tart with lavender lemon curd and blackberries – recipe coming soon.

Lemon curd, with or without the lavender, is incredibly easy to make and will keep in sterilized jars for 10 days in the fridge. This recipe makes enough for two jars; one to keep and one to give away if you can bear to part with it.

I used Meyer lemons as they’re plentiful right now but any lemon will do.

Lavender Lemon Curd

Lavender Lemon Curd

LAVENDER LEMON CURD

(Makes two jars)

Ingredients:

4 medium sized thin-skinned lemons, preferably organic

1 and 1/2 cups of fine white sugar

4 oz (114g) of unsalted butter at room temp – (I like Kerrygold Irish butter as it comes from grass-fed cows)

4 large eggs, lightly beaten

A pinch of sea salt (omit this if you use salted butter)

1 tablespoon of edible dried lavender flowers (optional)

Action:

Lavender Lemon Curd

Lavender Lemon Curd

Finely grate then chop the zest from the lemons and squeeze out all the juice.

Start by melting the butter with the sugar in a large bowl over a pan of barely simmering water, then add everything else.

Whisk gently until smooth and thick – this can take about 15-20 minutes.

Strain the lemon curd through a sieve into a clean bowl then transfer it to two sterilized jars and allow to cool before securing the lids.

Keep the lemon curd in the fridge and eat it within about 10 days…although I can’t imagine that would be too challenging.


Posted in Desserts, Gluten Free Desserts, Sauces, Preserves, Condiments | 3 Comments

Recipe: Chocolate

Yes, a recipe for making chocolate; not chocolate cake, chocolate truffles, cookies or ice cream but the crisp, dark, stuff that you use to make those things with (although this chocolate is so good that you’ll want to eat it on it’s own).

I had no idea how incredibly quick and easy it was to make chocolate from scratch using organic cocoa butter, cacao powder, sugar and vanilla – until a friend shared the secret.

You’ll need to buy the ingredients from Amazon but it’s totally worth it as you can add whatever you like to the melted chocolate before it sets; crispy bacon, sea salt, chili, toasted nuts, dried fruits, praline – you name it.

So go ahead, make chocolate! This has to be the ultimate gluten and dairy-free treat and you’ll never want to buy ready-made chocolate again.

Home-made chocolate freezes well.

Organic Chocolate with Tart Cherries, Almonds & Sea Salt

Organic Chocolate with Tart Cherries, Almonds & Sea Salt

ORGANIC DARK CHOCOLATE

(Yields about 40 one-and-a half-inch (3-4cm) squares, approx. ¼ inch (4mm) thick)

Ingredients:

8.5oz (240g) or raw organic cocoa butter (I recommend Caribbean Raw Organic)

1 tsp pure vanilla

5.5oz (160g) of raw cacao (chocolate) powder – (I recommend Viva Labs Organic)

5.5oz (160g) of organic powdered sugar

Optional – add approx. 1 cup of any combination of the following:

  •  Toasted raw almonds or hazelnuts, chopped
  •  Dried fruit (cranberries, raisins, currants, cherries, blueberries, etc)
  •  Almond or hazelnut praline, recipe below. Note: I used half a cup (120ml measure) of praline and reduced the sugar content in the chocolate mixture to 4.5oz (125g)

If you want to use sea salt, bacon bits, chili powder, cardamom, crystallized ginger, candied citrus zest, lavender flowers or any other exotic ingredient, add those a bit at a time tasting as you go.

'S'mores' with organic dark chocolate

‘S’mores’ with organic dark chocolate

Another note: this chocolate elevates that campfire treat ‘S’mores’ to another level of yummy-ness!

Action:

Chop the cocoa butter into small chunks, put them in a heavy pan without a lid and set over a very, very low heat to melt (it doesn’t take long – keep an eye on it and under no circumstances allow it to boil).

Meanwhile, sift together the powdered sugar and cacao powder. Once the cocoa butter has melted, add the vanilla and swirl it around to disperse.

Pour the melted cocoa butter and vanilla over the dry ingredients and stir well for a couple of minutes until the mixture is smooth. Stir in the remaining optional ingredients.

Pour the melted chocolate mixture into a 9 x 13inch (23 x 33cm) baking pan and put it in the fridge for 15 minutes. After about 15 minutes, take it out and lightly score the surface with a knife so that you can break it up easily once the chocolate has hardened.

Put it back in the fridge for about 1 hour to completely set, or freeze it for 20 minutes if you’re in a hurry.

Once set, the chocolate will shrink slightly from the sides of the pan making it easy to invert onto a flat surface to break it up into pieces.

You can freeze the chocolate squares in freezer bags or just store in an airtight container in the fridge but bring them to room temperature before eating.

Making Praline:

This will make approx 1.5 – 2 cups of praline. It freezes really well and can be used straight from the freezer; sprinkle it over ice cream, beat into whipped cream, use as a topping for cheesecakes, etc.

In a heavy pan without a lid, combine equal quantities (1 cup) of whole raw hazelnuts or almonds and (1 cup) of white sugar.  Place the pan over a very low heat until the sugar melts – this can take up to 45 minutes.

Eventually the sugar will become a deep golden color and runny. When it reaches the runny stage, stir everything with a fork to ensure there are no remaining sugar crystals then quickly pour the entire contents onto a large greased cookie sheet and allow it to cool and harden – this only takes a few minutes.

Once it’s set, break it into smaller pieces then grind them in a coffee or spice grinder until you have the required level of fineness.

Freeze in a rigid sealed container…you can easily spoon it out as needed.

Posted in Cookies & Edible Gifts, Desserts, Gluten Free Desserts | 2 Comments

Recipe – Roast Potatoes & Mushrooms

A heavenly combination of two very earthy ingredients that’s a perfect accompaniment to roast meats, game, poultry, ham, cod, salmon – or anything needing a robust, mushroom-flavored side dish. You could add crispy smoked bacon or prosciutto to it and the result would be wonderful but the original recipe here is vegetarian.

Porcini powder sounds a bit hard to come by but in fact isn’t because you make it yourself. Most good supermarkets these days sell little packets of dried mushrooms and porcini are some of the very best with their deep, earthy, almost meaty aroma. To make the powder, just blitz the dried mushrooms in a clean spice or coffee grinder – it only takes a few seconds.

Porcini powder also makes a wonderful addition to gravies, soups, or anything where you want a hint of ‘shroom. On that basis, you might want to make more than this recipe calls for; just store it in a screw-top glass jar and it will last for ages.

Roast Potatoes & Mushrooms with Porcini

Roast Potatoes & Mushrooms with Porcini

ROAST POTATOES with MUSHROOMS

(Serves 6 as a side dish)

Ingredients:

Non-stick vegetable cooking spray

2 and a 1/2 lbs (1.15k) of baby red-skinned potatoes, washed, left unpeeled and cut into about 6 wedges each, making sure the wedges are roughly the same size

2 tablespoons of chopped fresh rosemary

5 tablespoons of oil such as avocado or grape seed oil (never use extra-v olive oil for cooking at high temps)

1 lb (0.5k) of small brown mushrooms (chestnut, crimini/baby portabellas) wiped clean, halved or quartered so they’re all the same size

1/2 oz (14g) of dried porcini mushrooms – ground to a powder (see above)

Sea salt and freshly ground black pepper

3 heaped tablespoons of Italian flat leaf parsley, chopped

Action:

Pre-heat the oven to 425F (220C).

Spray a large shallow roasting/baking tray with cooking oil.  Toss the potato wedges with the rosemary in 2 tablespoons of the oil and arrange them in a single layer in the roasting tray.

Roast for 45 minutes, tossing around every 15 minutes or so, until they’re browned and tender. Remove from the oven and set aside (potatoes can be made up to 2 hrs ahead ).

Heat 2 more tablespoons of the oil in a large sauté pan over a medium-high heat and sauté the mushrooms until they’re tender and browned (mushrooms can also be made up to 2 hrs ahead).

Add the remaining tablespoon of oil to the skillet with the mushrooms then add the potatoes. Sauté over a medium-high heat until the potatoes are crisped and everything is heated through. Season everything to taste with sea salt and freshly ground black pepper.

Finally, sprinkle the porcini powder over everything and toss well to coat everything.

Transfer to a warmed serving bowl and scatter with chopped parsley to serve.


Posted in Vegan, Vegetables / Vegetarian | 7 Comments

Recipe – Easy Catalan Baked Fish

Looking for something substantial and delicious that you can put together in under 30 minutes? This is an old favorite and a lovely way to serve fish such as halibut or cod.

‘Catalan’ refers to Catalonia, a region of northeastern Spain that borders France. I don’t imagine this is a traditional Catalonian recipe but it does contain some of the essential ingredients; tomatoes, olives, garlic, onion, herbs and a splash of white wine. I’ve also used dry sherry when I’ve run out of wine and it’s fabulous either way. The addition of orange zest brightens it up nicely.

This recipe works best with firm white fish. Serve it with baby boiled potatoes, rice, quinoa or whatever you prefer, and a green vegetable.

Easy Catalan Baked Fish

Easy Catalan Baked Fish

EASY CATALAN BAKED FISH

(Serves 4)

Ingredients:

1 lb (0.5k) of firm white fillet of fish at least an inch thick, cut into four

2 teaspoons of extra-v olive oil

1 medium to large onion, halved and sliced very thinly

2 fat cloves of garlic, minced

1/4 cup (60ml) of dry white wine (or dry sherry)

A 14 oz (400g) can of Italian peeled plum tomatoes, drained then chopped

10-12 pitted black olives (preferably kalamata or niçoise), coarsely chopped

1 tablespoon of fresh oregano, chopped – or 1/4 teaspoon of dried

1/4 teaspoon of finely grated orange zest

Sea salt and freshly ground black pepper

Action:

Pre-heat the oven to 450F (230C).

Oil the base of a shallow baking dish and arrange the fish in a single layer. Season with salt and freshly ground black pepper.

In a wide saute pan, heat the olive oil and saute the onion until very soft. Add the minced garlic and the white wine and simmer for half a minute, then add everything else. Season to taste with salt and freshly ground black pepper and spread everything evenly over the fish.

Bake uncovered for approximately 15 minutes or until the fish is opaque in the center and falls apart in big juicy flakes.

Serve immediately.


Posted in Fish & Seafood, Made in Under 30 mins | 2 Comments

Recipe: Sicilian Clementine Almond Cake

This is one of those miraculous gluten and dairy-free cakes that is so incredibly moist, your fork will make a slight squelch as you dig in. It also tastes even better on days two, 3 and four but frankly I’d be surprised if you have any lying around for that long.

Based on a Nigella Lawson recipe; whole clementines are boiled in water until soft and pulpy then blitzed to a beautiful orange puree. The fruit is then combined with ground almonds, eggs, sugar, baking powder  – and a very special ingredient,  Fiori di Sicilia.

Fiori di Sicilia is a highly concentrated extract of vanilla, citrus and flowers that’s traditionally used as a flavoring in Panettone and its magical fragrance enhances cookies, ice cream, meringue, cakes, etc. You only need a tiny amount as it’s extremely potent but it keeps for ages in the fridge. I purchased some over 8 years ago and it has lost none of its potency.

Anyway, it isn’t essential as the original recipe doesn’t call for it but it does elevate the cake to astonishing levels of ambrosial deliciousness, so I highly recommend investing in a small bottle of the stuff.

This also happens to be one of the easiest cakes to make and if you can’t find organic clementines, use oranges instead.

Sicilian Clementine Almond Cake

Sicilian Clementine Almond Cake

SICILIAN CLEMENTINE ALMOND CAKE

(Serves 10)

Ingredients:

13 oz (375g) of clementines (approx 3 large ones) or oranges, preferably organic

6 large eggs

1 1/4 cups of white cane sugar

2 1/4 cups of ground almonds (almond meal)

1 teaspoon of baking powder

1/4 teaspoon of Fiore di Sicilia

Action:

Sicilian Clementine & Almond Cake

Sicilian Clementine & Almond Cake

Put the fruit in a large pan and cover with plenty of water. Bring to a boil and simmer for 2 hrs. Remove them from the water and allow to cool.

Grease and line an 8-10 inch (20-25cm) springform cake pan and pre-heat the oven to 375F (190C).

Put the cooled fruit into a food processor and pulse until you have a lovely orange slurry. Beat the eggs with the sugar until they’re pale and foamy – fold in the ground almonds and baking powder, followed the pureed fruit and Fiori di Sicilia. Stir well (don’t beat) to combine, then pour the batter into the cake pan.

Bake for 35 minutes then check to see if the top is browning. If it is, cover it with a piece of foil and cook for another 20 minutes, or until a skewer inserted in the middle of the cake comes out clean.

Allow the cake to cool in the pan on a rack and once cooled it can be removed from the pan and stored in an airtight container at room temperature for several days. There’s nothing wrong with eating it right away but it tastes better if you wait 24-48 hrs.

Sprinkle the cake with powdered sugar before serving  – and a nice dollop of creme fraiche alongside would be perfect.


Posted in Desserts, Gluten Free Desserts | 5 Comments

Recipe: Crispy Indian Spiced Chickpeas (Garbanzo Beans)

Canned chickpeas, tossed in a little oil with spices and sea-salt then roasted until crispy, make a delicious healthy snack.

Perfect for nibbling on, eat them just as they are – or take them out of the oven after 20 minutes and once they’ve cooled down, add them to a few tablespoons of yogurt that’s been whisked with chopped fresh mint, cilantro (coriander) and toasted cumin, for a lovely appetizer or snack.

Crispy Indian Spiced Chickpeas

Crispy Indian Spiced Chickpeas

CRISPY INDIAN SPICED CHICKPEAS

(Makes 2 1/2 – 3 cups)

Ingredients:

Two 15 oz /425g cans of chickpeas, drained and patted dry with paper towel

Two tablespoons of oil (avocado and grape seed are ideal for high temp cooking)

1 teaspoon of curry powder

1 teaspoon of smoked paprika

Optional pinch of cayenne (depending on how spicy your curry powder is)

1/2 teaspoon of sea salt

Action:

Pre-heat the oven to 400F (200C).

Toss everything together in a bowl. Tip the chickpeas into a large shallow roasting pan and bake them for 40 minutes until they’re crispy, stirring about every 10-15 minutes to ensure they crisp evenly.

Or, if you want to add them to the yogurt to eat as an appetizer –

Bake them for 20 minutes, stirring halfway through, then remove from the oven to cool down.

Whisk together the following:

Oven Baked Chickpeas with Yogurt & Indian Spices

Oven Baked Chickpeas with Yogurt & Indian Spices

10 fl oz (570ml) of plain yoghurt, preferably full-fat

2 tablespoons of chopped cilantro/coriander

1 tablespoon of chopped fresh mint

¼ teaspoon of dry-roasted cumin seeds, ground

A pinch of cayenne

Sea salt and freshly ground black pepper to taste

Once the chickpeas have cooled down, combine them with the yogurt mixture and sprinkle with a little finely chopped cilantro/coriander and fresh mint to serve.

This yogurt recipe is a basic Indian ‘Raita’ and makes a delicious and refreshing snack on it’s own.

The yogurt should be made one or two hours ahead to allow the flavors to develop and will keep, covered in the fridge for a few days.

Any leftover crispy chickpeas will keep for a day or two in an airtight container at room temp.

Posted in Indian & Asian Cuisine, Made in Under 30 mins, Salads & Appetizers, Vegan, Vegetables / Vegetarian | 2 Comments

Recipe: Black Rice & Walnut Salad with an Orange Balsamic Dressing

Black rice isn’t really black, it’s purple and it turns everything it comes into contact with purple too (you might want to check your smile after eating),  so brighten it up a bit with some leafy greens and/or fresh fruit before serving, otherwise it looks a bit sinister.

Thai sweet black rice has a lovely nutty, grape-like flavor and is frequently used to make coconut-y, fruity desserts (replace half the water with coconut milk, add some sugar and top it off with your favorite fruit).

Here I’ve added toasted walnuts, dried fruit, celery and a dressing made with fresh orange juice, balsamic vinegar, olive oil and some finely minced shallots – a great combination of crunch and chewiness with lots of nutty citrus flavor.  I use whatever dried fruit I have to hand and in this case it was golden sultanas and cranberries but I’ve also made it with cherries and thinly sliced dried apricots – all delicious.

It needs to be made at least two and up to 24 hours ahead for the flavors to develop.

Black Rice & Walnut Salad with an Orange Balsamic dressing

Black Rice & Walnut Salad with an Orange Balsamic dressing

BLACK RICE & WALNUT SALAD with an ORANGE BALSAMIC DRESSING

(makes about 4-5 cups)

Ingredients:

1 cup of sweet black rice, cooked according to instructions (about 30 minutes)

1/2 cup of walnut pieces, lightly toasted in a dry skillet

2 stalks of celery, finely chopped

1/2 cup of dried raisins, cranberries, sultanas, sliced apricots or cherries

For the dressing:

1 tablespoon of finely minced shallot

3 tablespoons of balsamic vinegar

The juice of 1 medium orange

2-3 tablespoons of extra-v olive oil

Sea-salt & freshly ground black pepper

Action:

Combine the cooked rice, walnuts, celery and dried fruit in a bowl.

Whisk all the dressing ingredients together and pour it over the rice mixture; toss thoroughly.

Cover and set it aside for 2 hours or overnight in the fridge. Bring it to room temp before serving, adjust the seasoning and dress it up with some fresh orange segments and perhaps fold in some chopped flat leaf parsley just before serving.


Posted in Salads & Appetizers, Vegan, Vegetables / Vegetarian | Leave a comment

Recipe: Indian Spiced Baked Chicken

I adapted this from a Madhur Jaffrey recipe where she bakes a whole chicken in a sealed parcel.

Instead, I used bone-in chicken quarters and once they were cooked I pulled all the meat off the bone, making it easier to eat and ideal for feeding a crowd.  The rich, aromatic sauce that’s created in the cooking process is wonderfully fragrant without being too spicy and the chicken is moist and tender.

You don’t have to pull the meat off the bones if it’s a sit-down dinner; just serve each person one piece of chicken. You could also use bone-in chicken thighs for smaller portions (adjust the cooking time accordingly) but don’t be tempted to buy boned chicken fillets – cooking chicken on the bone yields a juicier result with much better flavor.

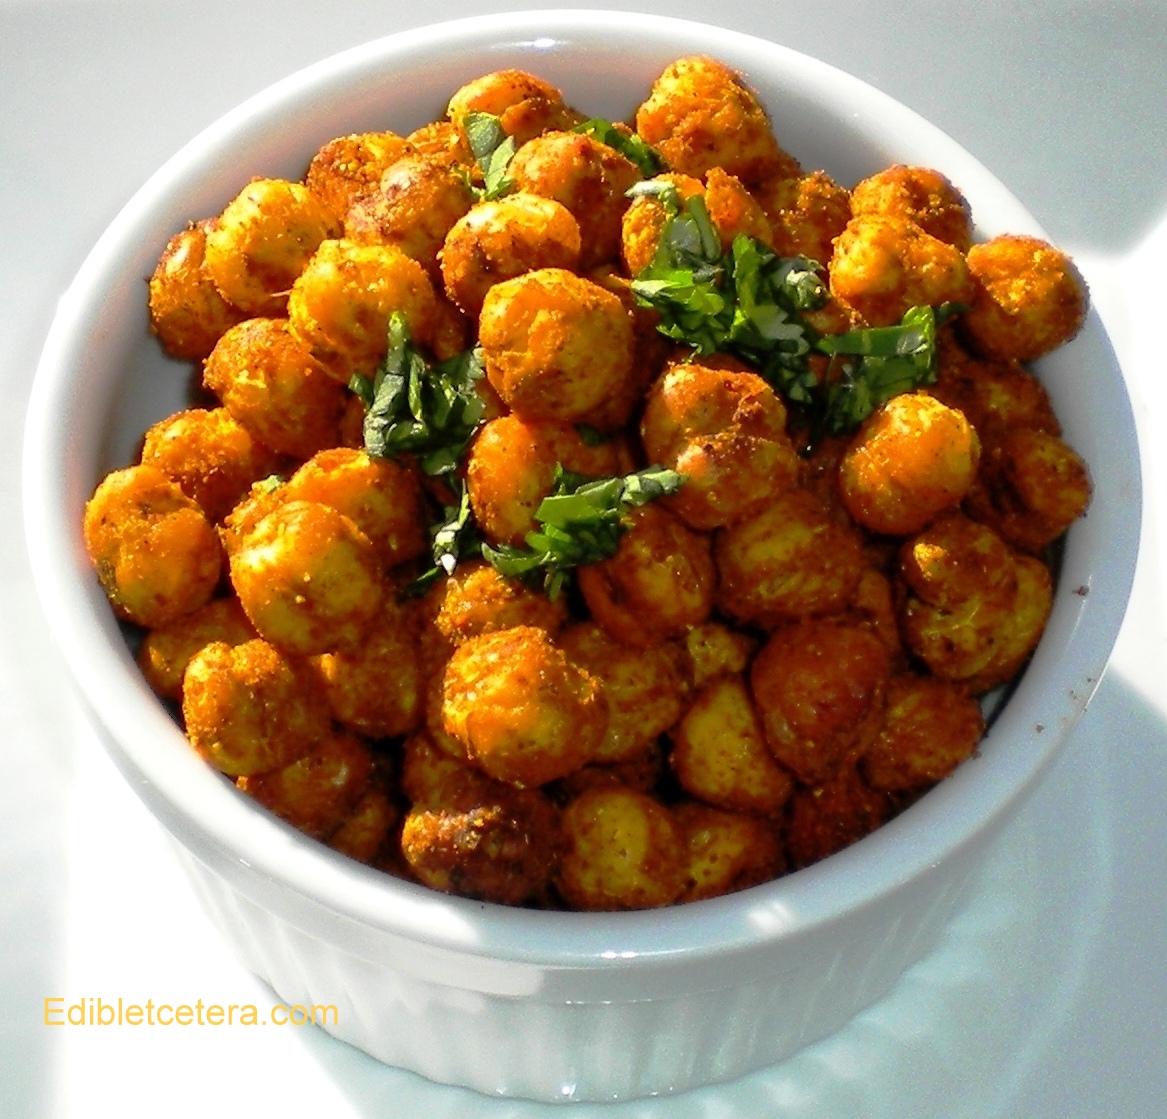
This recipe has a two-step process and although very simple to make, it does takes a while to prepare but the end result is totally worth it. The discarded chicken skin wasn’t wasted either and was used to make Nigel Slater’s Chicken Skin Popcorn – a huge hit with hungry guests while they waited.

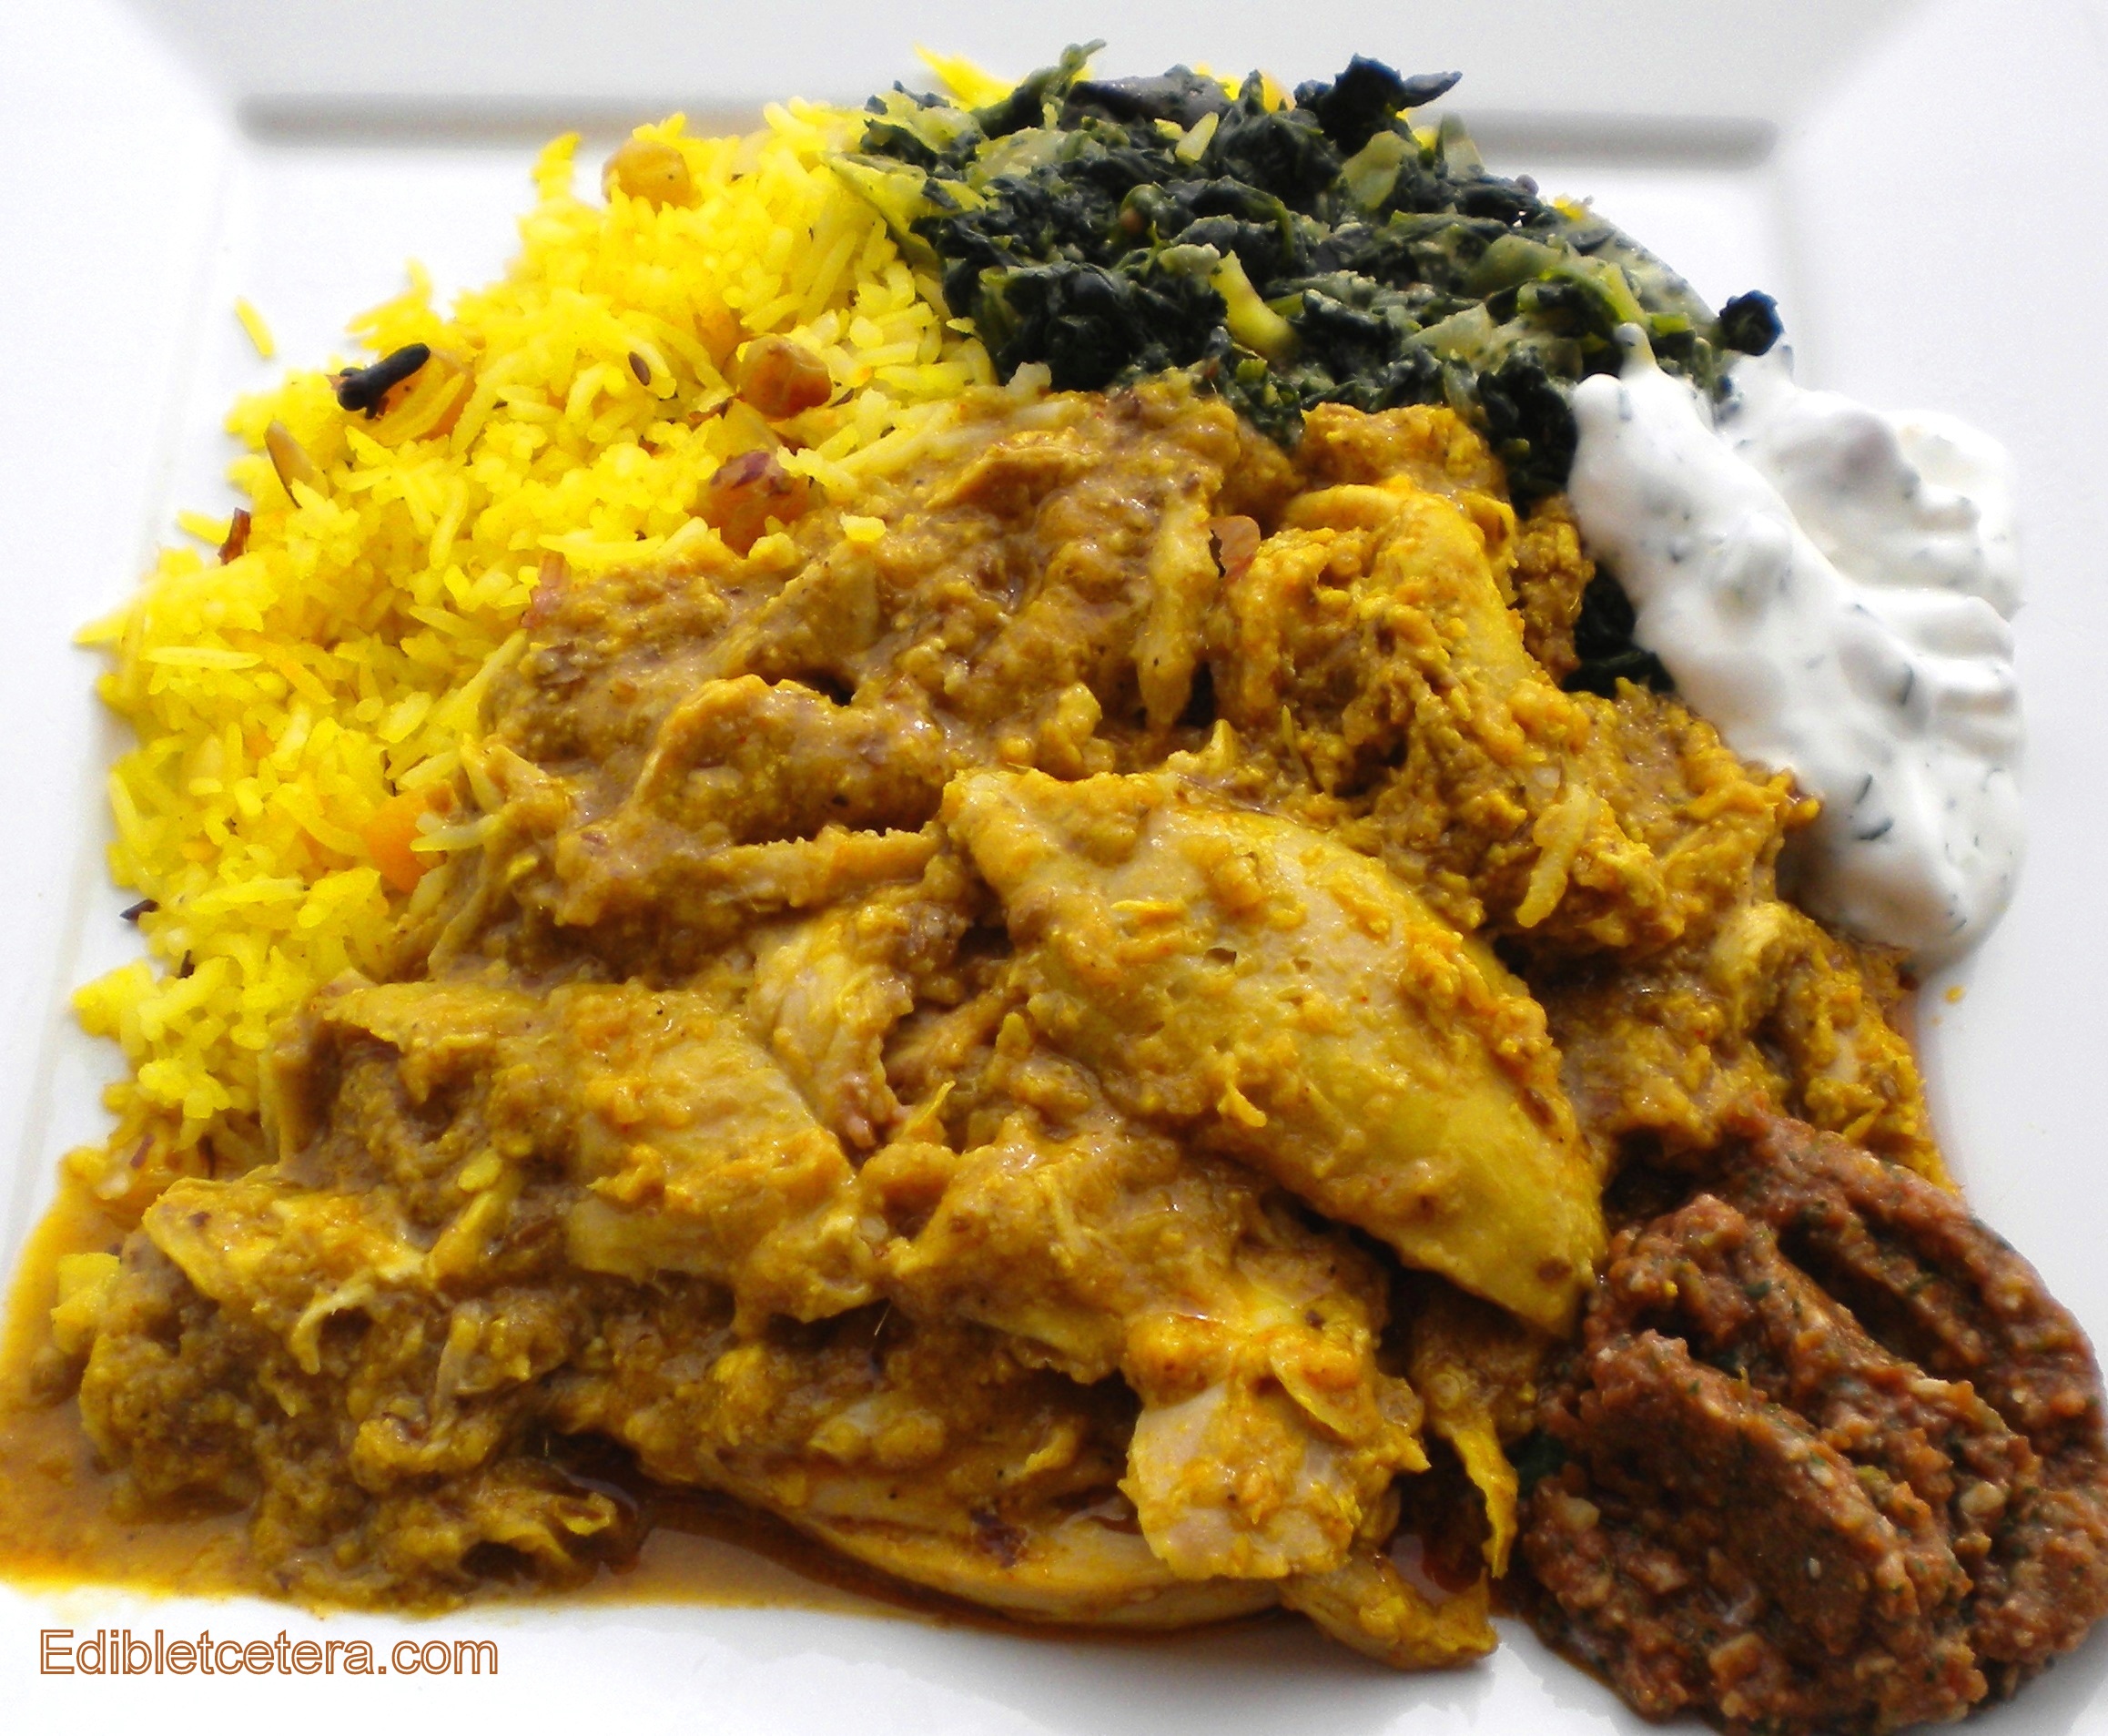
I served this together with a rice pulao with saffron, almonds, dried fruits & aromatics;   spinach with ginger, onion & chili and a cooling yoghurt ‘raita’ with walnuts, cilantro (coriander), chili and green onion.

The best part is that everything can be made in advance and reheated in a 300F /150C oven,  covered tightly with foil.

You don’t have to but I prefer to buy my spices whole and grind them myself; they have more flavor than the ready-ground stuff. Don’t cut back on the amount of oil either; it carries the flavor of the spices.

You’ll also need a food processor.

This dish freezes well once it’s cooked.

Indian Spiced Baked Chicken

Indian Spiced Baked Chicken

INDIAN SPICED BAKED CHICKEN in a SEALED PARCEL

(Serves 6)

Ingredients:

3 and 1/2 lbs (1.5k) of chicken quarters, on the bone

For the marinade:

1 inch (2.5cm) of fresh ginger, peeled and chopped

2 cloves of garlic, peeled

6 tablespoons of plain (full fat) yoghurt

1/2 teaspoon of ground turmeric

1 teaspoon of salt

1/4 – 1/2 a teaspoon of cayenne

1/4 – 1/2 teaspoon of freshly ground black pepper

For the spice paste/sauce:

8 oz (225g) of onions, quartered

4 large cloves of garlic, peeled

1 oz (25g) of sliced almonds

2 teaspoons of ground cumin

2 teaspoons of ground coriander

1/2 teaspoon of ground turmeric

1 tablespoon of paprika

1/4 teaspoon of cayenne

1 and 1/2 teaspoons of sea salt

8 tablespoons of vegetable oil (I use grape seed or avocado oil as they’re better at high temps)

2 tablespoons of freshly squeezed lemon juice

A good grind of black pepper

1/2 teaspoon of garam masala (an Indian ‘finishing’ spice, available in good supermarkets these days)

Action:

Skin the chicken pieces and discard the skin (unless you’re making chicken skin popcorn in which case, lay them flat on a roasting tray, season with salt and pepper and put in the fridge until you’re ready to roast them).

Indian Spiced Baked Chicken - stage 1

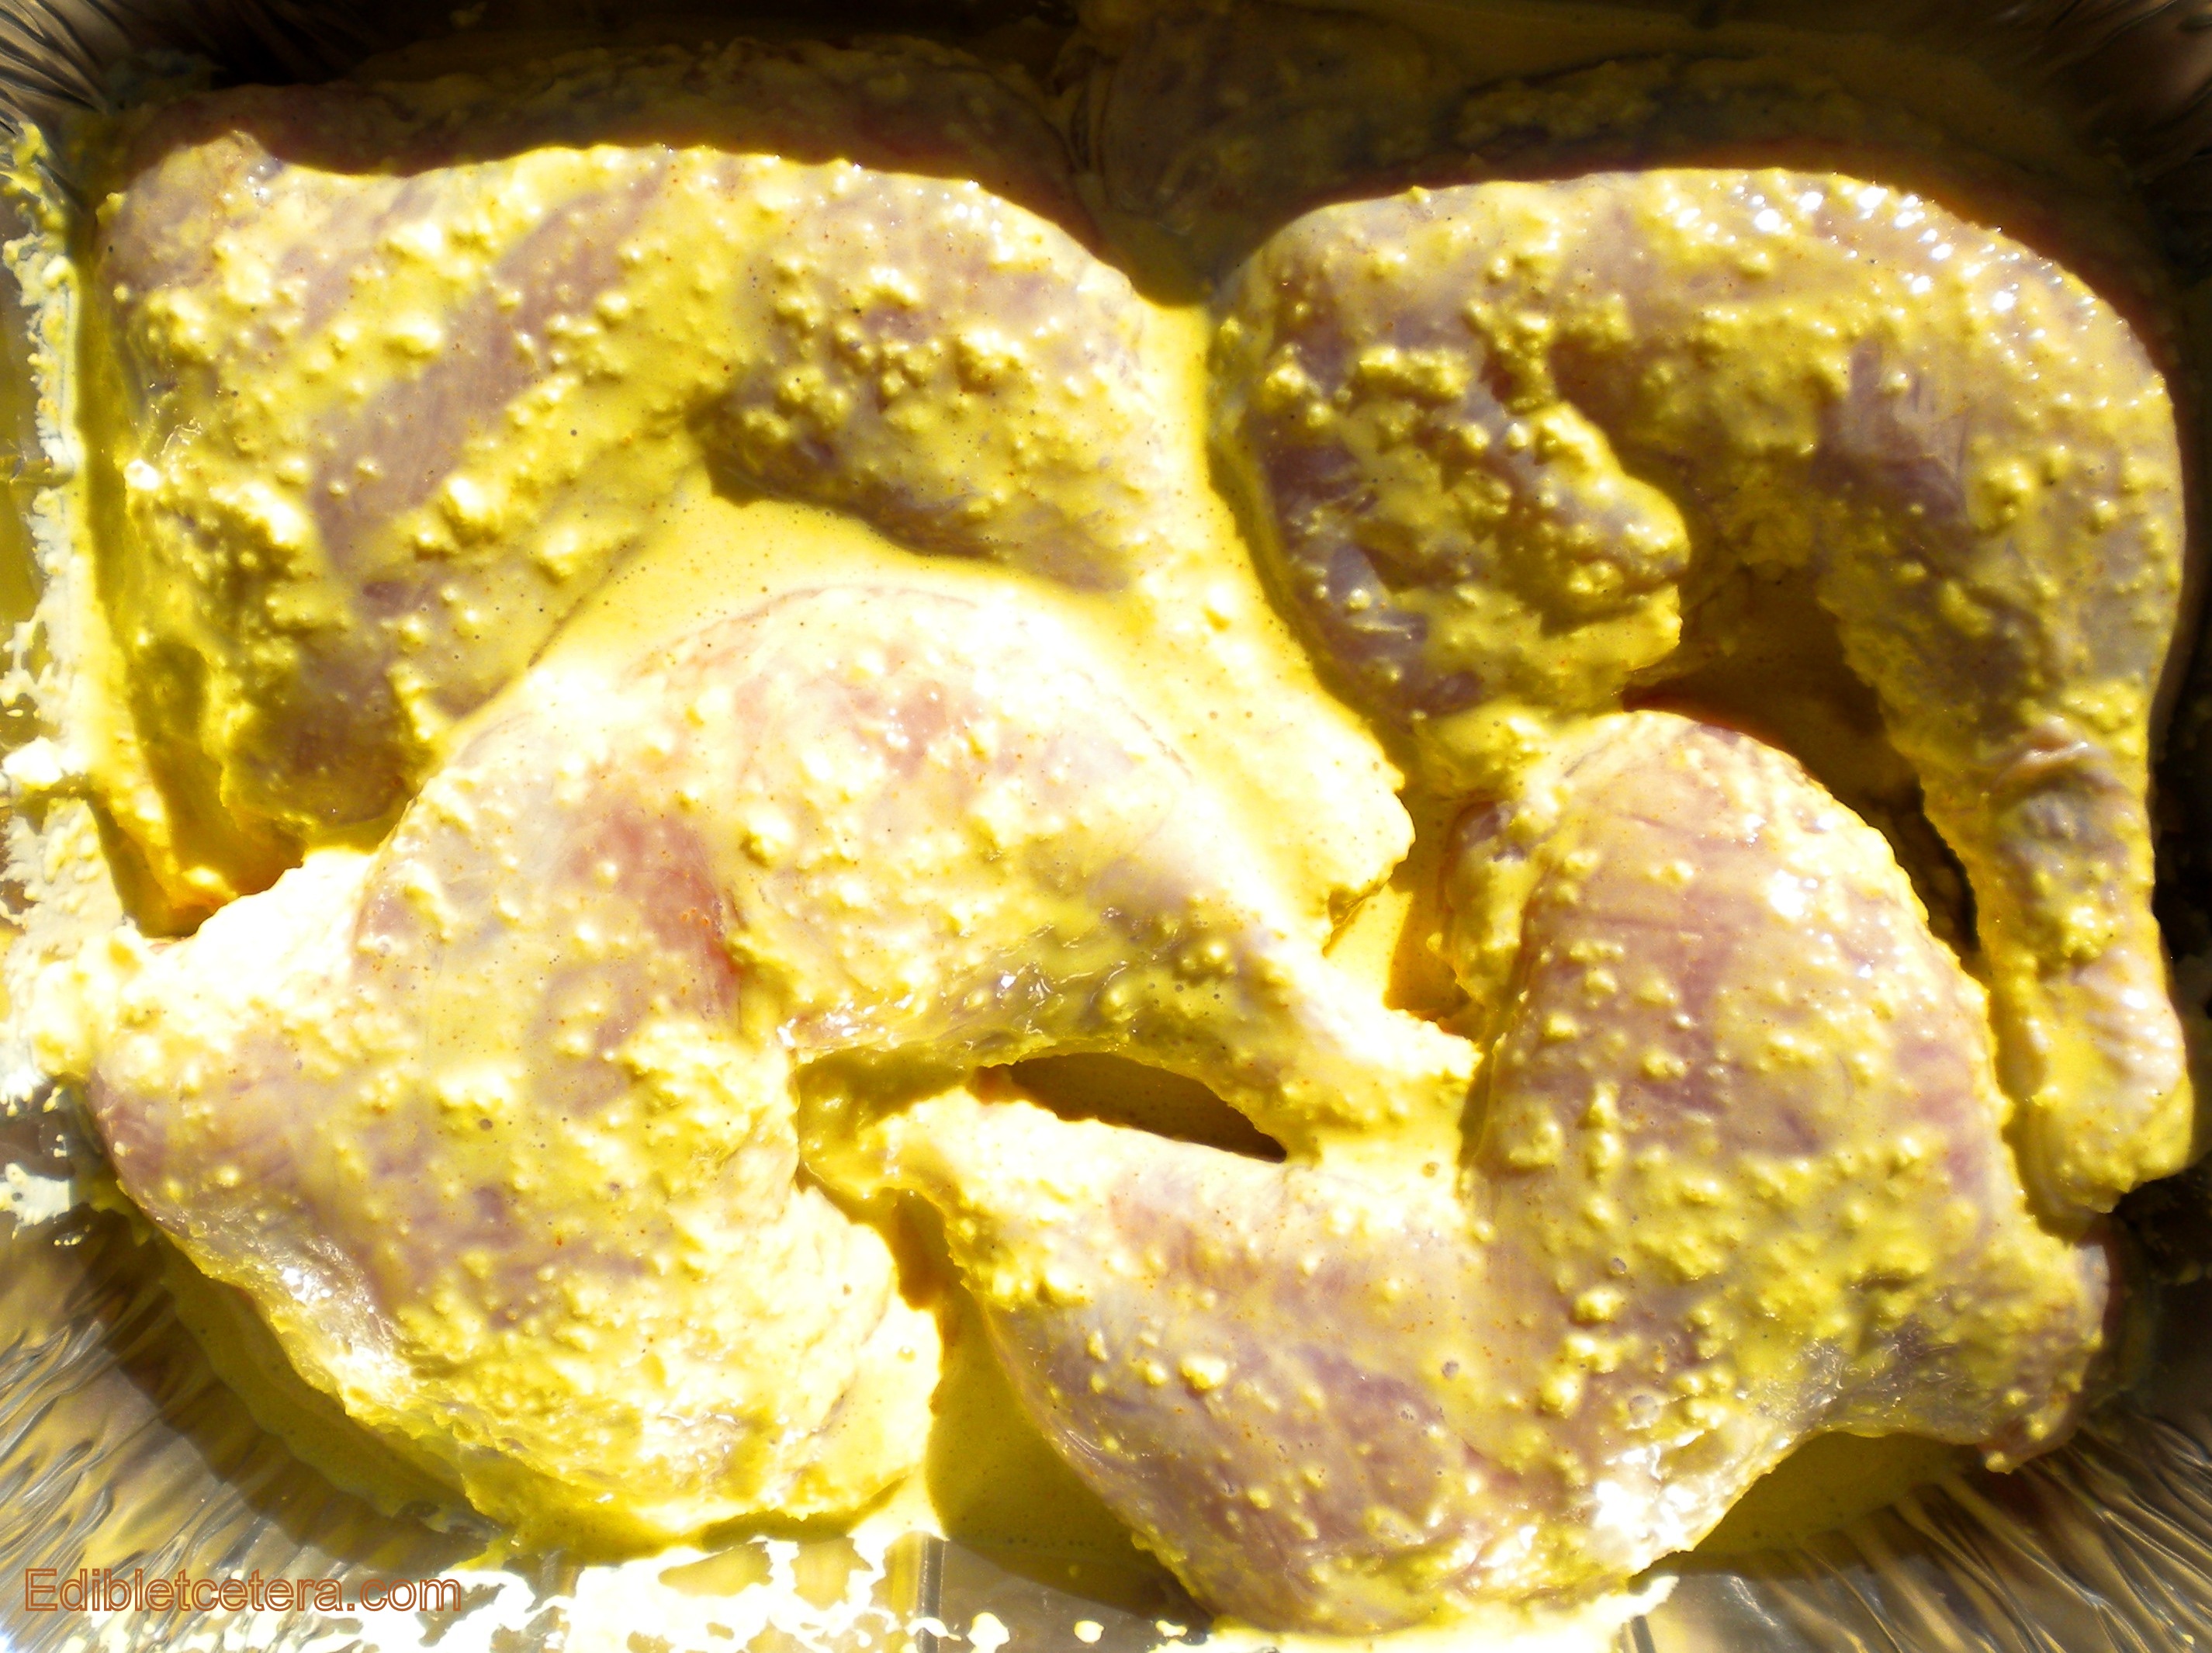
Indian Spiced Baked Chicken – stage 1

Arrange the chicken pieces snugly in a single layer in a deep roasting pan.

Make the marinade –

Put all the marinade ingredients in a food processor and pulse until you have a paste. Brush the marinade all over the chicken and set it aside at room temperature for 2 hours.

Make the paste/sauce –

Wipe out the food processor bowl (no need to wash it). Pulse the onions, almonds, garlic and ginger, pushing the sides down with a spatula until you have a paste. Add the ground cumin, coriander, turmeric, paprika, cayenne and salt – pulse to blend.

Indian Spiced Baked Chicken - stage 2

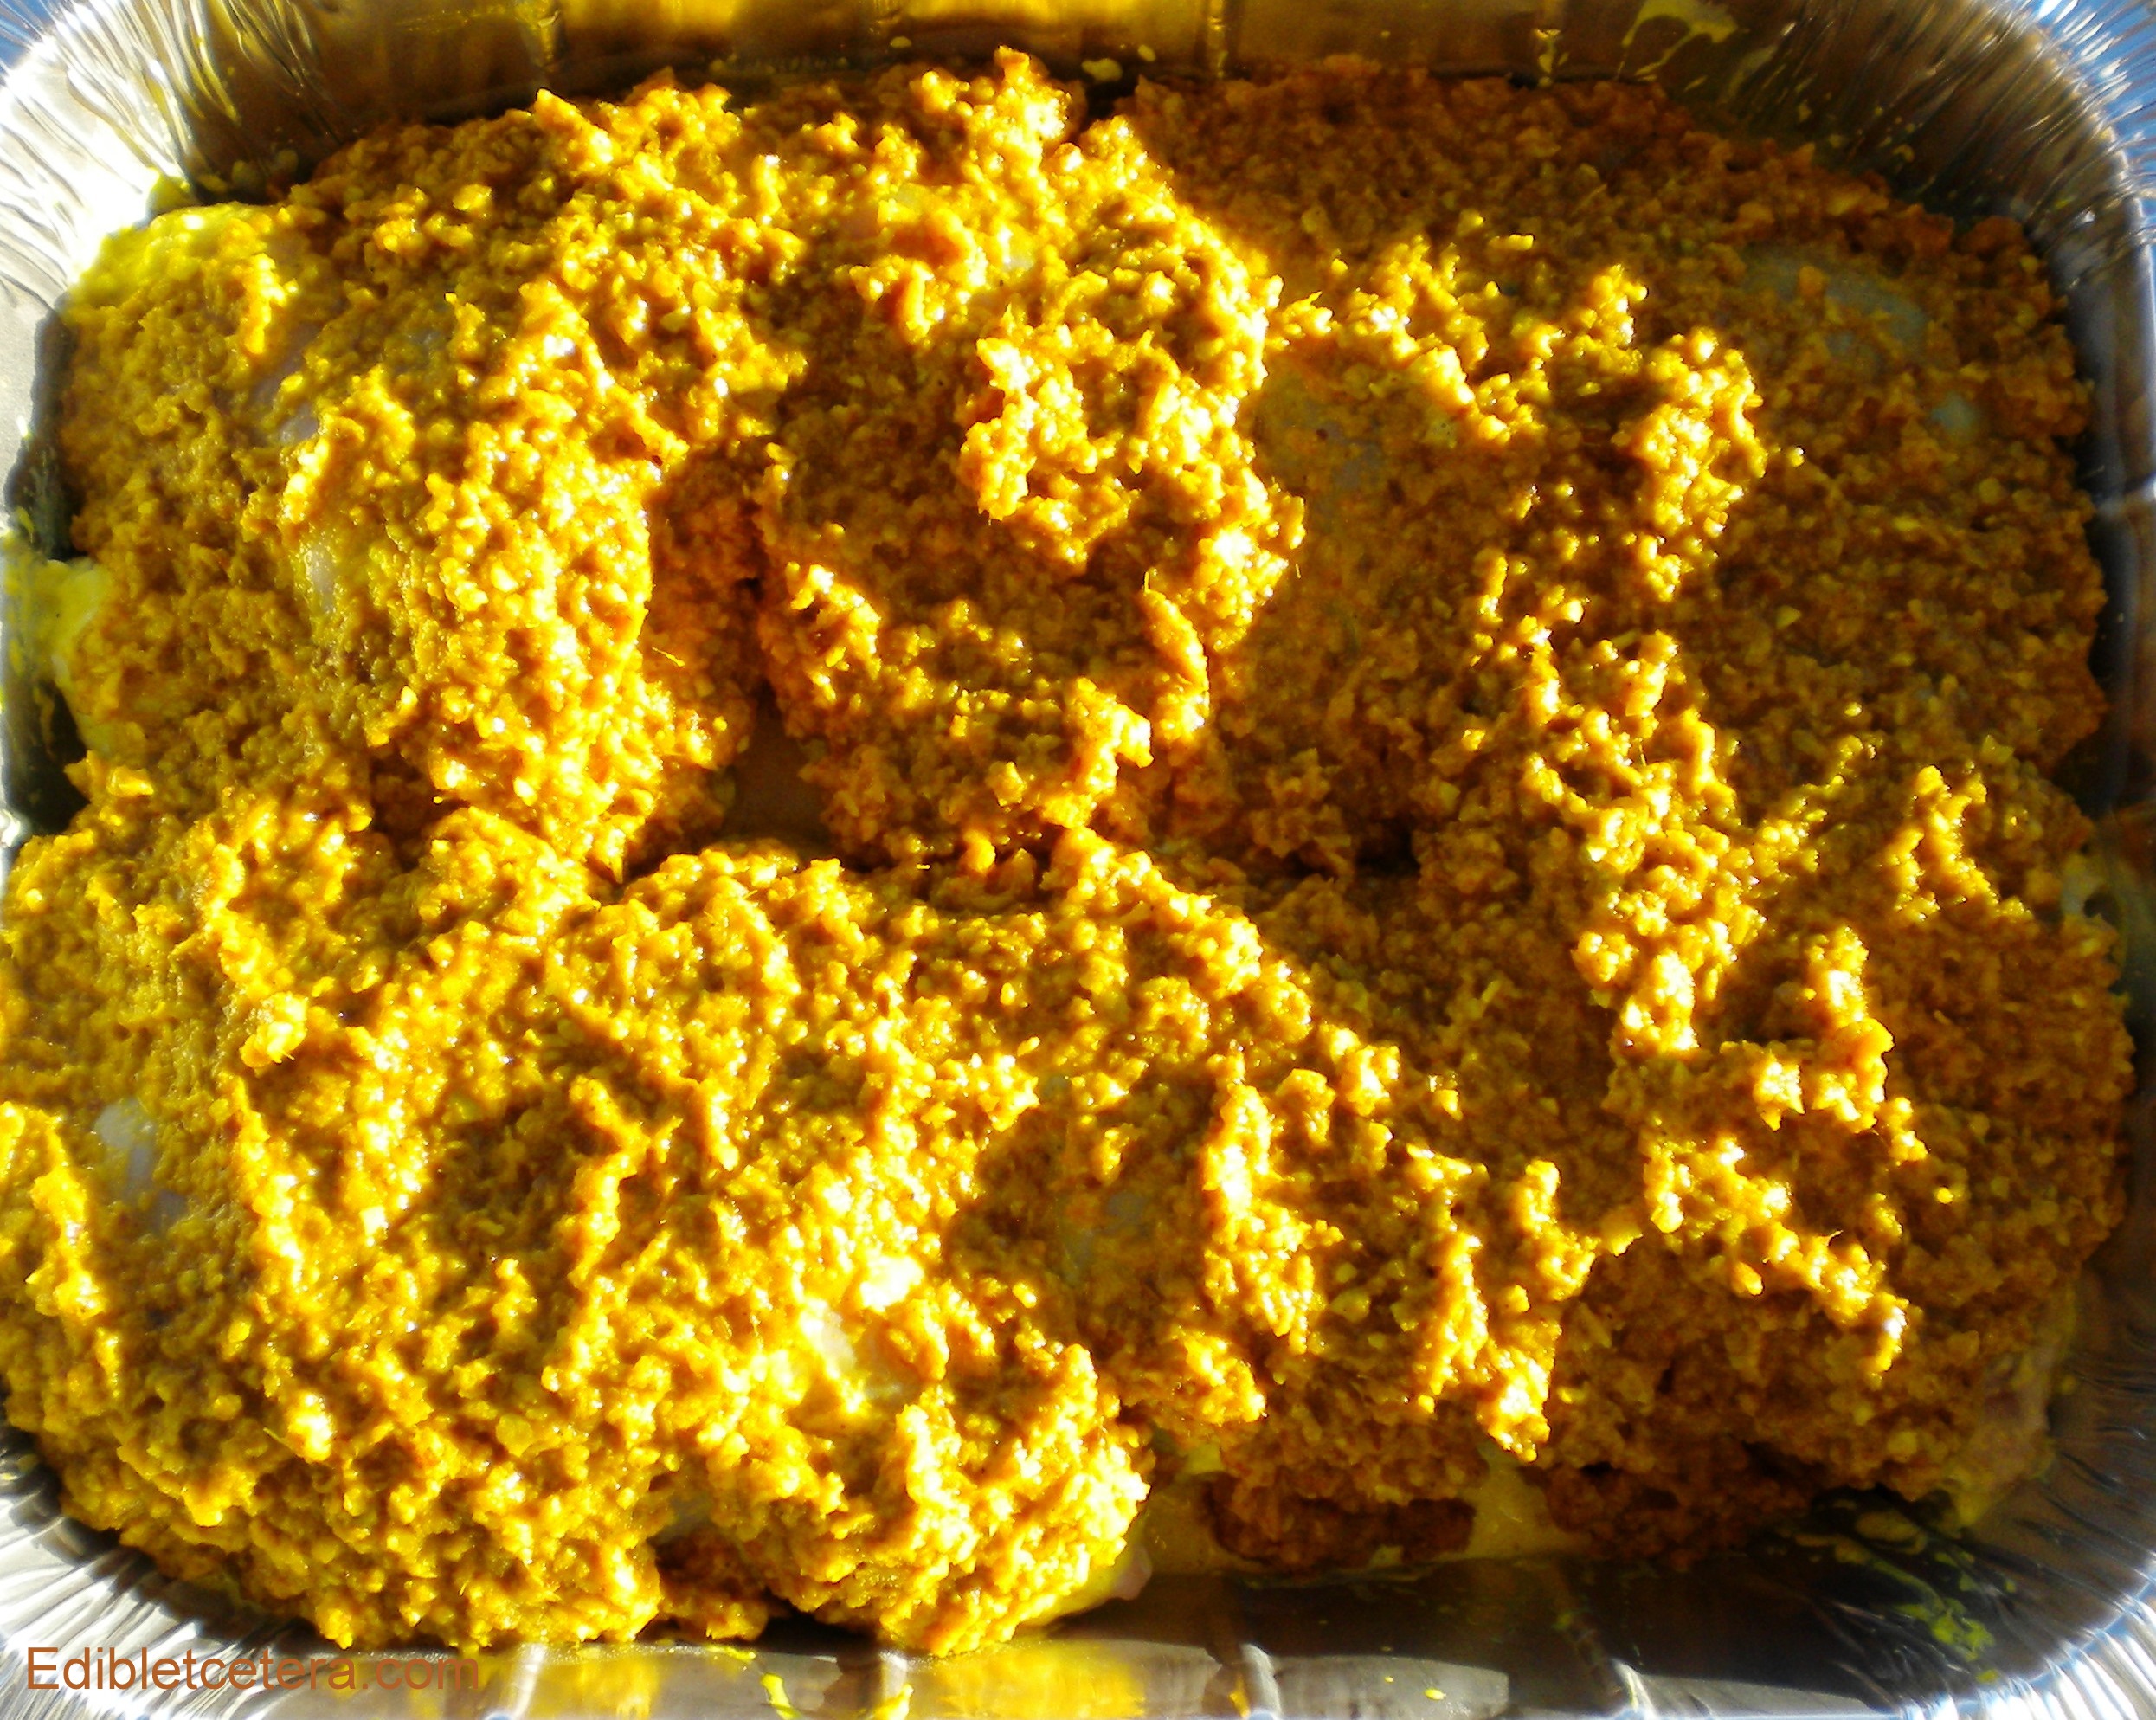
Indian Spiced Baked Chicken – stage 2

Heat the oil in a large sauté pan over medium-high heat then add the onion paste mixture to the pan and cook, stirring for about 8-10 minutes.

Add the lemon juice, a good grind of black pepper and the garam masala. Take off the heat.

Pre-heat the oven to 350F (180C)

Spread the onion and spice paste evenly over the chicken pieces. Cover with foil, making sure the edges are tightly crimped and that there’s some space between the chicken and the foil. Bake for 2 hours or until the meat is all but falling off the bone.

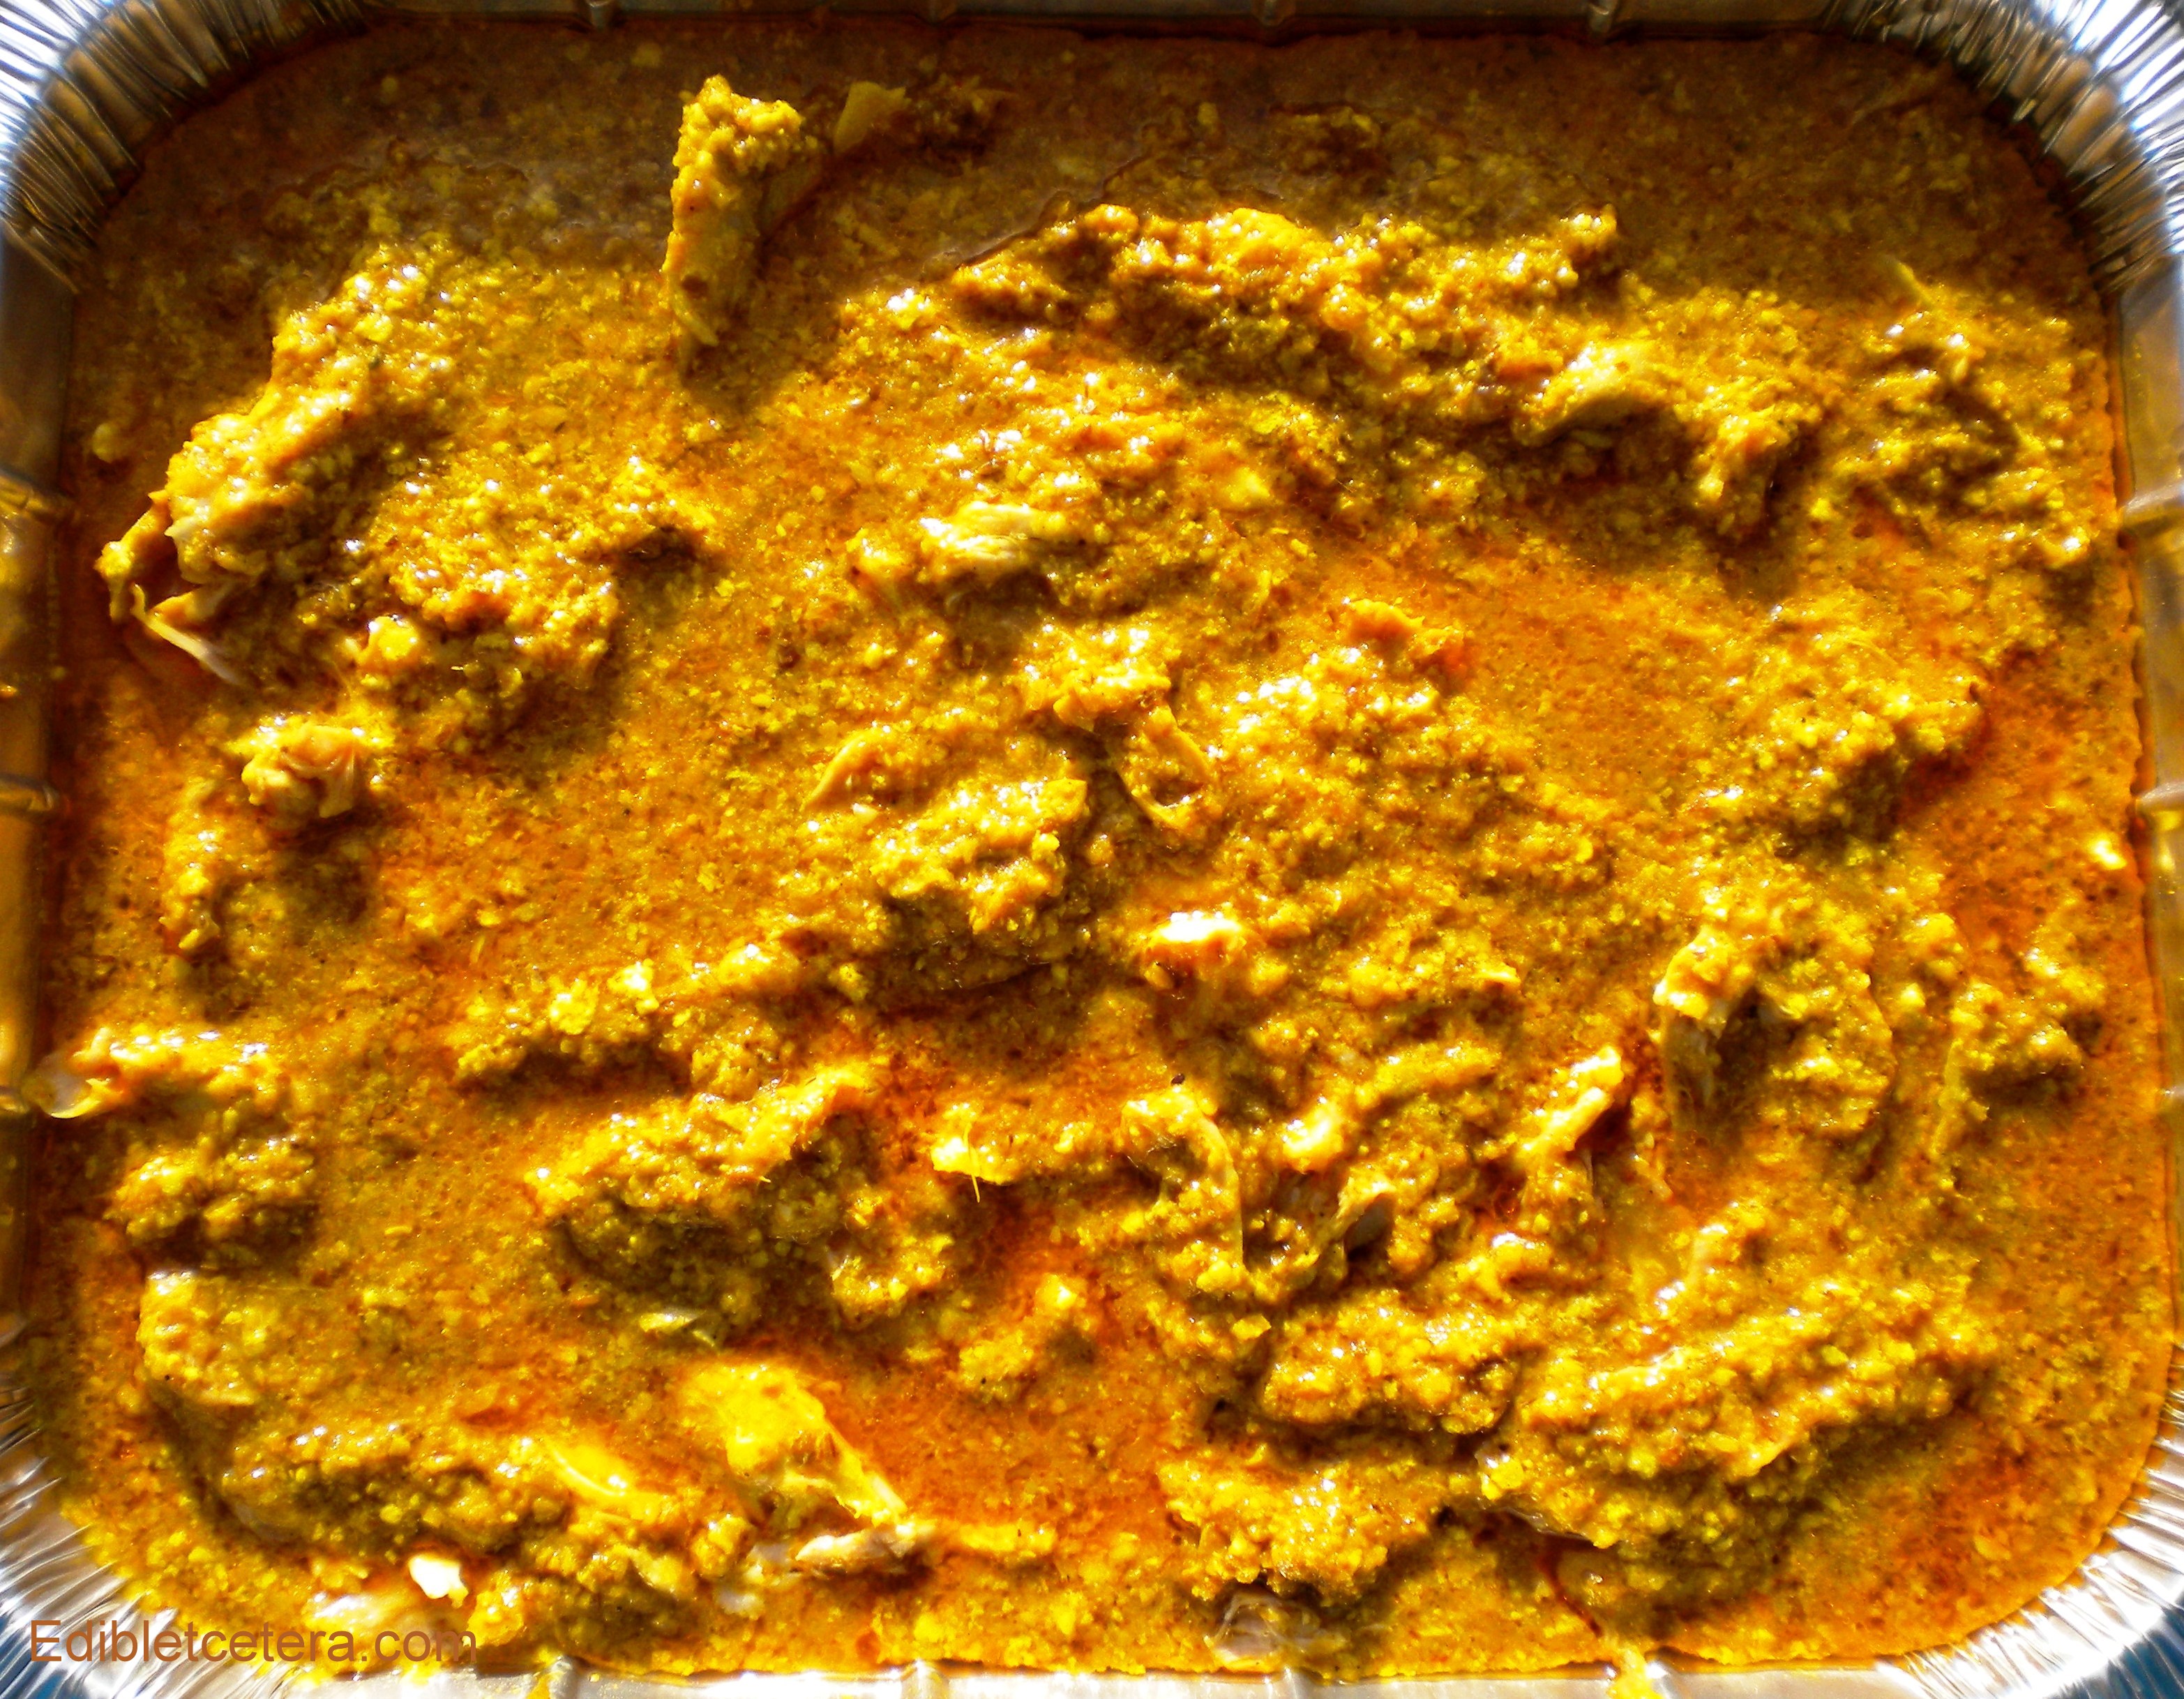
Serve like this or allow it to cool before pulling the meat off the bones and discarding them. Re-heat, tightly covered with foil at 300F (150C) for about 30 minutes.

For more easy Indian dishes, click here.

Indian Spiced Baked Chicken - cooked

Indian Spiced Baked Chicken – cooked


Posted in Indian & Asian Cuisine, Poultry | 6 Comments

Recipe: Pissaladière (Caramelized Onion Tart with Anchovies and Black Olives)

Originating from the South of France, this classic onion tart has evolved into many versions – some with or without garlic, sugar, vinegar or herbs. Traditionally the crust is made from a thick pizza-like dough and I’ve seen in served piled onto slabs of crusty, olive oil fried bread.

I’m using my favorite shortcut for the base – frozen puff pastry – a culinary cheat’s dream with its light-as-air flakiness. I’ve also made it with a commercial ready-made raw pizza crust; either way it’s a treat, bursting with robust Mediterranean flavors. I like to sprinkle it with a few drops of balsamic vinegar just before eating but it isn’t essential.

If you can’t find tiny black Niçoise olives, use dry oil-cured or Kalamata black olives. I prefer the pitted ones for safety reasons.

Pissaladiere - Caramelized Onion tart with Olives & Anchovies

Pissaladiere – Caramelized Onion tart with Olives & Anchovies

PISSALADIERE (Caramelized Onion Tart with Anchovies and Black Olives)

(Serves 4-6)

Ingredients:

2 tablespoons of olive oil

2 tablespoons of butter

2lb (900g) of sweet yellow onions, thinly sliced

1 or two teaspoons of honey

A sprig of fresh thyme

Sea salt, freshly ground black pepper

9 or 10 anchovy fillets

10- 12 black olives (preferably Niçoise, oil-cured or Kalamata but definitely not the tasteless ones from a can)

One sheet, or 8 oz (230g) of frozen puff pastry, defrosted

Balsamic vinegar to serve (optional)

Action:

Melt the butter and olive oil in a large saute pan over a medium low heat. Add the onions, thyme and honey and a good grind of sea salt and freshly ground black pepper – stir everything well to combine. Turn the heat to very low and cook the onions, stirring every 15 minutes or so until they’ve softened. Turn up the heat a bit and stir more frequently until they turn golden in color – they need to caramelize, not turn brown.  This can take 45 minutes to an hour.

Meanwhile, prepare the pastry base:

Roll out the pastry on a lightly floured surface until you have a rectangle measuring about 10 x 12 inches (25cm x 30cm), or make individual rectangles.

Pre-heat the oven to 400F (200C).

Carefully transfer the pastry to the baking sheet and brush the edges with a little beaten egg and then fold them in 1/2 inch (7mm) to create a rim. Brush beaten egg over the folded edges and prick the base all over with a fork.

Spoon the caramelized onions into the pastry. Arrange the anchovies and olives on top and bake for 20-25 minutes or until the pastry is puffed and golden.

Serve warm, perhaps sprinkled with a little balsamic vinegar.


Posted in Fish & Seafood, Salads & Appetizers, Vegetables / Vegetarian | 4 Comments

Recipe: Nigel Slater’s Chicken Skin Popcorn

I’ve never been much of a popcorn fan. Even without that bright yellow fake butter poured over it, it’s still suspiciously sweet for my taste and those bags of sugar coated stuff don’t do it for me at all.

However, popcorn is a good source of fiber so when I came across this recipe in Nigel Slater’s wonderful book ‘eat’, my eyes almost popped out of my head – and I had to share it.

For starters, the idea of creating melt-in-the-mouth, whisper thin chicken skin crackling was a revelation – and I’m kicking myself at the thought of all the chicken skin I’ve discarded over the years.

In this recipe, the combination of melted real butter, fresh rosemary and crispy chicken skin is absolutely incredible and it doesn’t take long to make, especially if you buy microwaveable popcorn (the unflavored plain variety).

I used Orville Redenbacher’s ‘Simply Salted’ which only contains 2% of the recommended daily allowance of sodium per popped cup. But you’ll want to eat considerably more than that and frankly, popcorn needs salt but be careful not to overdo it as you’ll be salting the chicken skin.

If you’d rather pop it yourself in a heavy pan or special machine, buy loose kernels that come with instructions.

I served this as a pre-dinner snack for a dozen people recently and I’ve never seen anything devoured so quickly, with greedy guests cramming fistfuls into their mouths (Probably why Nigel Slater refers to his recipe as ‘scandalous’).

For vegetarian, here’s a link to another fast & fabulous popcorn recipe – Truffle Parmesan Popcorn.

Nigel Slater's Chicken Skin Popcorn

Nigel Slater’s Chicken Skin Popcorn

NIGEL SLATER’S CHICKEN SKIN POPCORN

(Enough for 4)

Ingredients:

The skin from 4 good sized chicken thighs

3 oz (80g) of unsalted butter

5-6 oz (150g) weight of popping corn (approx 2 microwaveable bags)

1 heaped tablespoon of fresh rosemary, finely chopped

Sea salt to taste

Action:

Heat the oven to 350F (180C). Lay the chicken skin pieces flat on a roasting tray and sprinkle with a little sea salt and freshly ground black pepper. Roast for approximately 20 minutes or until they’re golden and crispy. Transfer them to a plate lined with paper kitchen towel to drain and fully crisp up. Crumble them into bite sized pieces.

Gently melt the butter with the rosemary (don’t allow it to brown). Use about 1/3 of the butter to pop the corn with if you’re making it yourself using loose corn kernels (following instructions on the jar), otherwise microwave the corn following the packet instructions – about 2 minutes.

Tip the popped corn into a large bowl, drizzle the melted rosemary butter all over it along with extra sea salt if you like – top it off with crumbled pieces of crispy chicken skin.

Popcorn this good doesn’t hang around for long, so you might want to make an extra batch.


Posted in Made in Under 30 mins, Poultry, Salads & Appetizers | 6 Comments