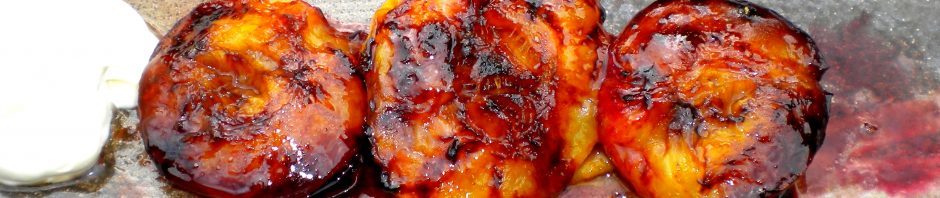
Divinely decadent with buttery, caramelized pears oozing a rich fragrant sauce, this is a relatively simple dessert to make (especially if you use ready-rolled frozen puff pastry) – and it’s utterly drool-worthy.
Adapted from a Gordon Ramsey recipe, I recommend following his suggestion to peel the pears and allow them to dry out uncovered in the fridge overnight before you make it – it stops them from becoming too mushy.
I promise that you’ll be fighting over the last piece of this. Serve it warm with crème fraîche or the best vanilla ice cream money can buy.
You’ll need a heavy-based ovenproof frying or sauté pan measuring about 9 inches (20cm) across.

Spiced Pear Tarte Tatin
SPICED PEAR TARTE TATIN
(Serves 6)
Ingredients:
6-8 medium-ripe pears (depending on size), peeled, cored and cut in half lengthways then left uncovered in the fridge overnight
3.5 oz (100g) of fine white sugar
3.5 oz (100g) of butter
The seeds scraped out of half a vanilla pod
2 star anise
A large stick of cinnamon
3 cardamom pods, lightly cracked
2 tablespoons of brandy or Grand Marnier
9 oz (250g) of frozen puff pastry (One ready-to-bake pre-rolled sheet from a 17.3 oz packet) defrosted according to instructions
Action:
Prepare the pears the night before as above.
Put the butter, sugar, vanilla seeds, star anise, cinnamon stick and cardamom pods in a heavy based pan and over a high heat, melt the butter and sugar until bubbling, stirring from time to time. The butter and sugar will separate – shake the pan and continue to give an occasional stir until the sugar caramelizes to a toffee color.
 Put the pears in the pan and continue to cook for another 10-12 minutes, turning them over a couple of times until they start to caramelize. The sauce will be bubbling and fragrant at this point. Finally tip in the brandy or Grand Marnier and flambé if you dare (if you don’t it will still be delicious so don’t worry about it).
Set aside to cool a bit.
Pre-heat the oven to 400F ( 200c).
If you aren’t using ready-rolled pastry, roll it out to about 1/4 inch (2mm) thick and trim it so that it’s slightly larger than the pan.
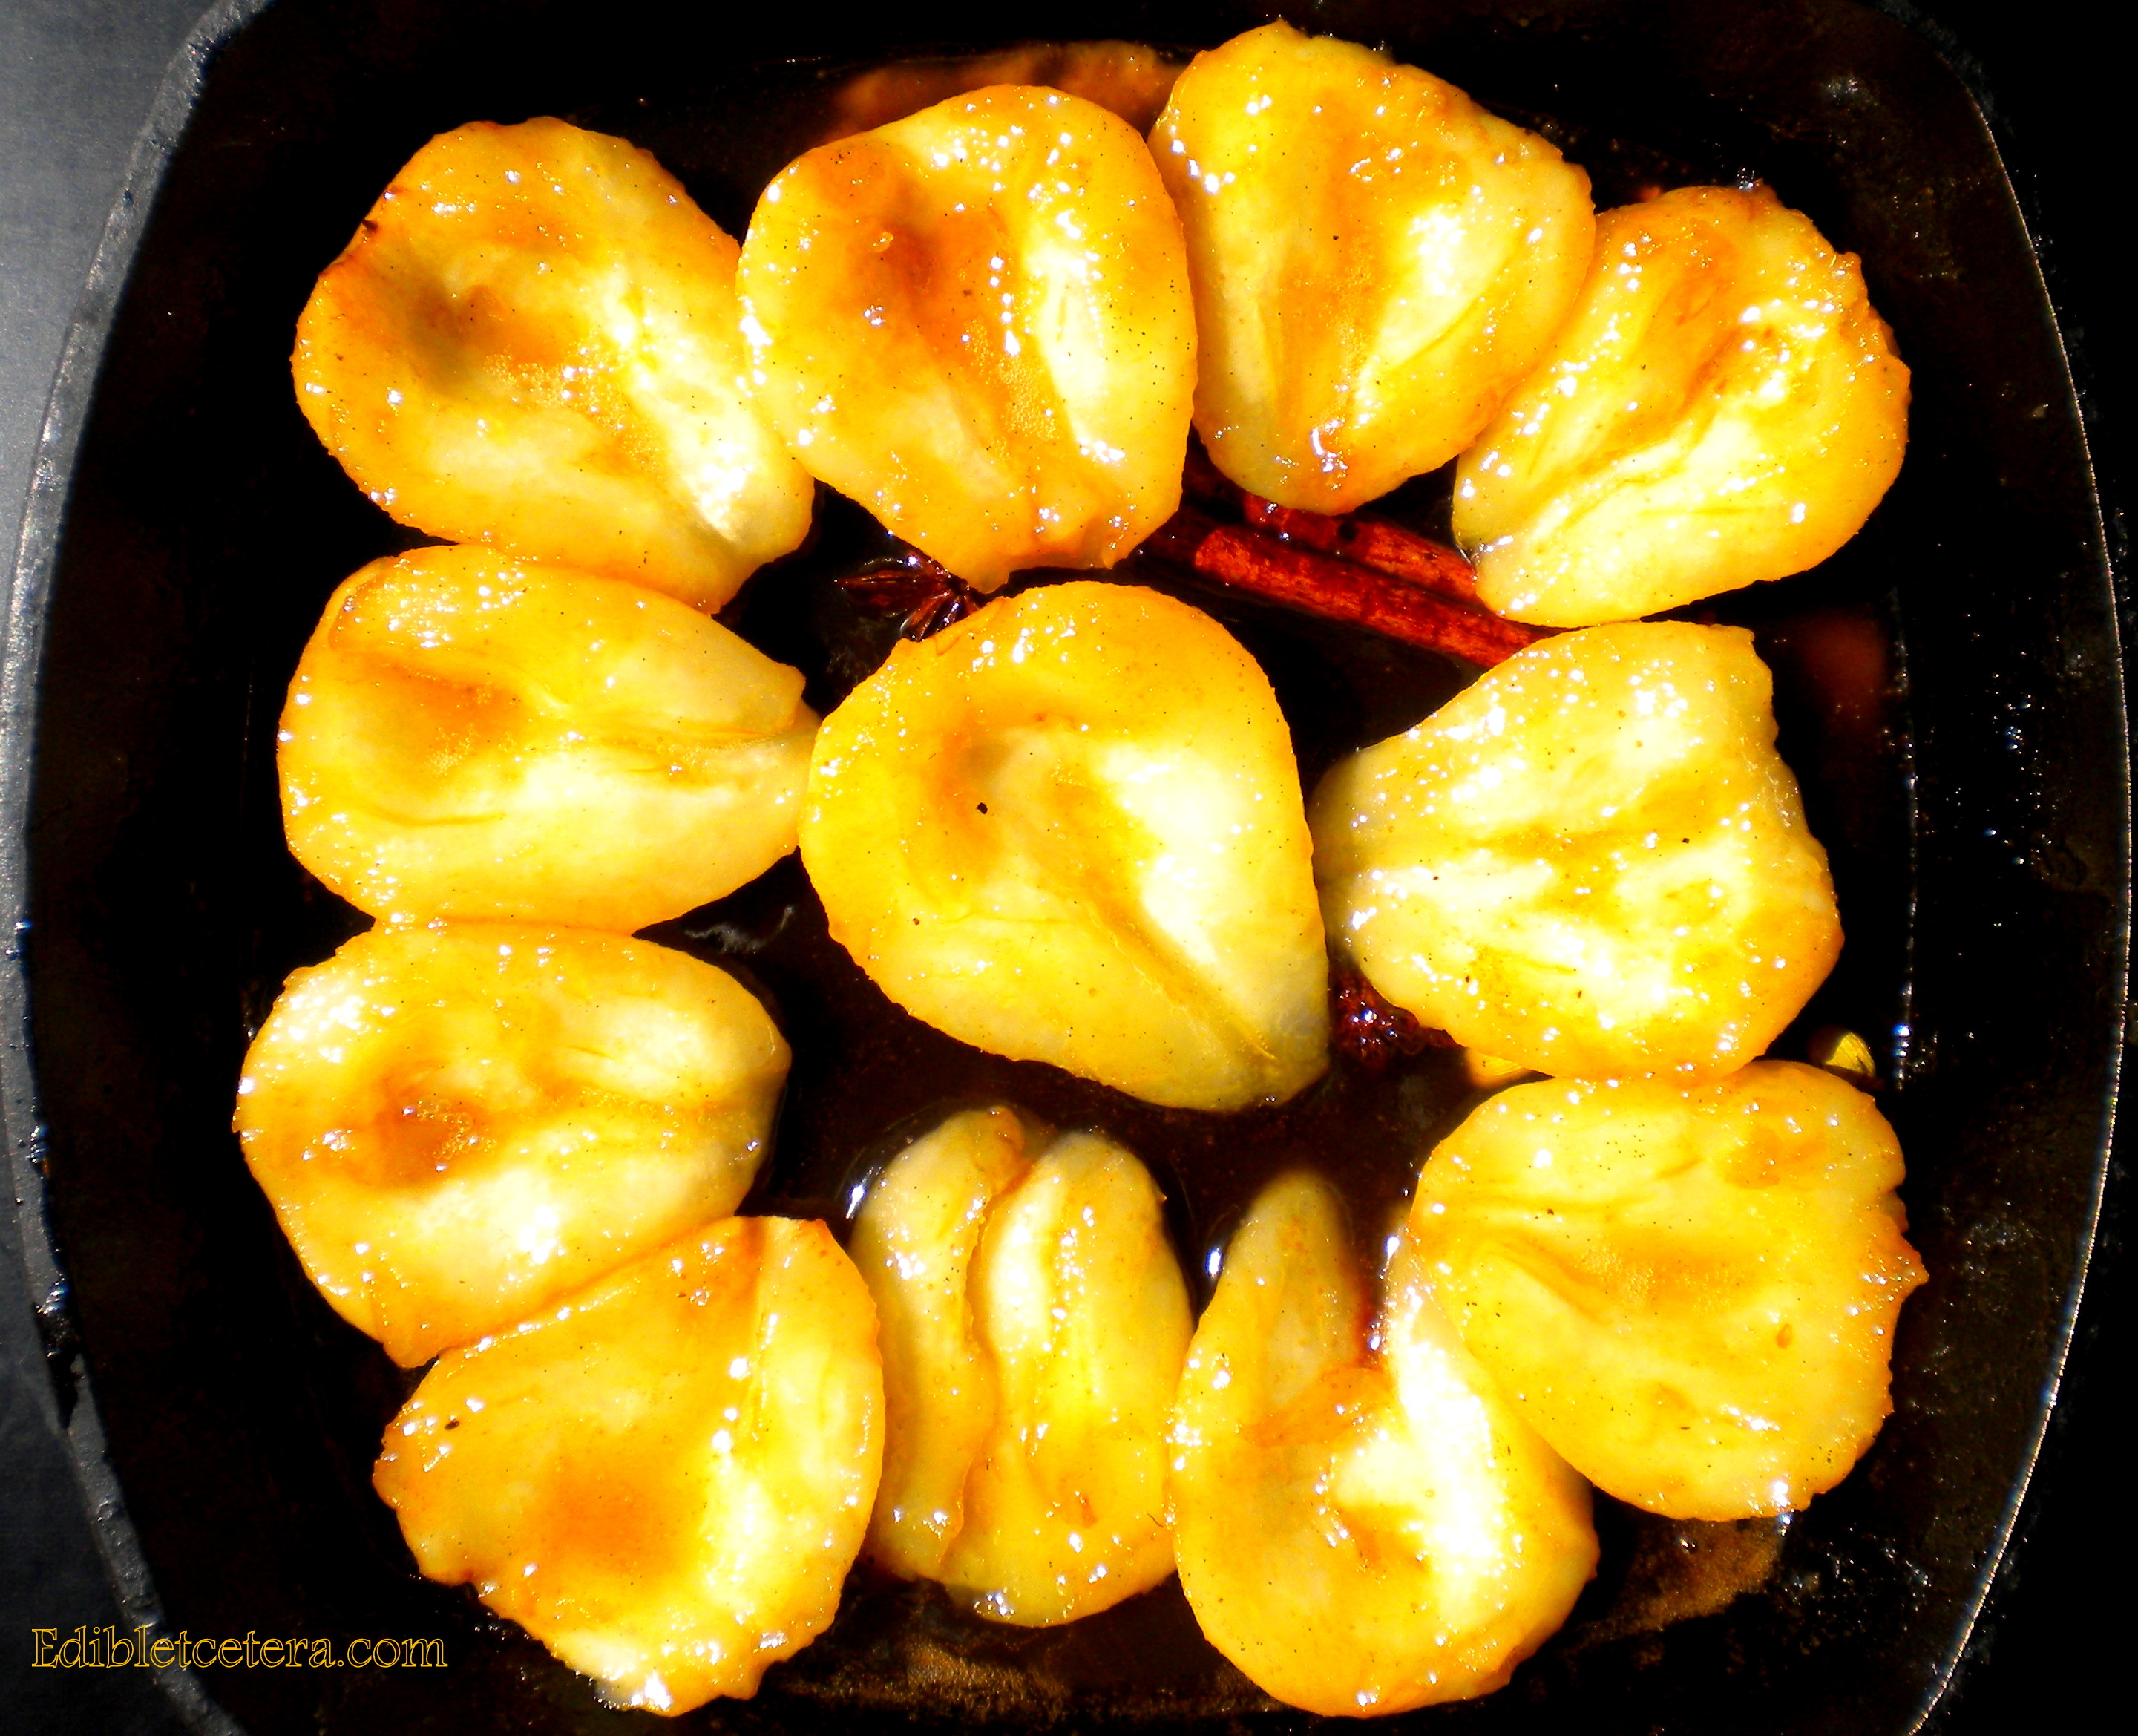
Arrange the pears in the pan cut side up with the pears around the edges pointing inwards. Scatter the spices around with the cinnamon stick in the middle.
 Drape the pastry over the pears and tuck the edges in all round. Prick the pastry a few times then bake in the pre-heated oven for 15 minutes. If you notice a lot of juice bubbling up the sides, carefully pour it off and use for something else (over ice cream perhaps).
Reduce the oven temp to 350F (180C) and bake for another 15 minutes until the pastry is golden. Remove from the oven and allow to cool for 10-15 minutes before very carefully inverting it onto a wide serving dish. Serve warm.
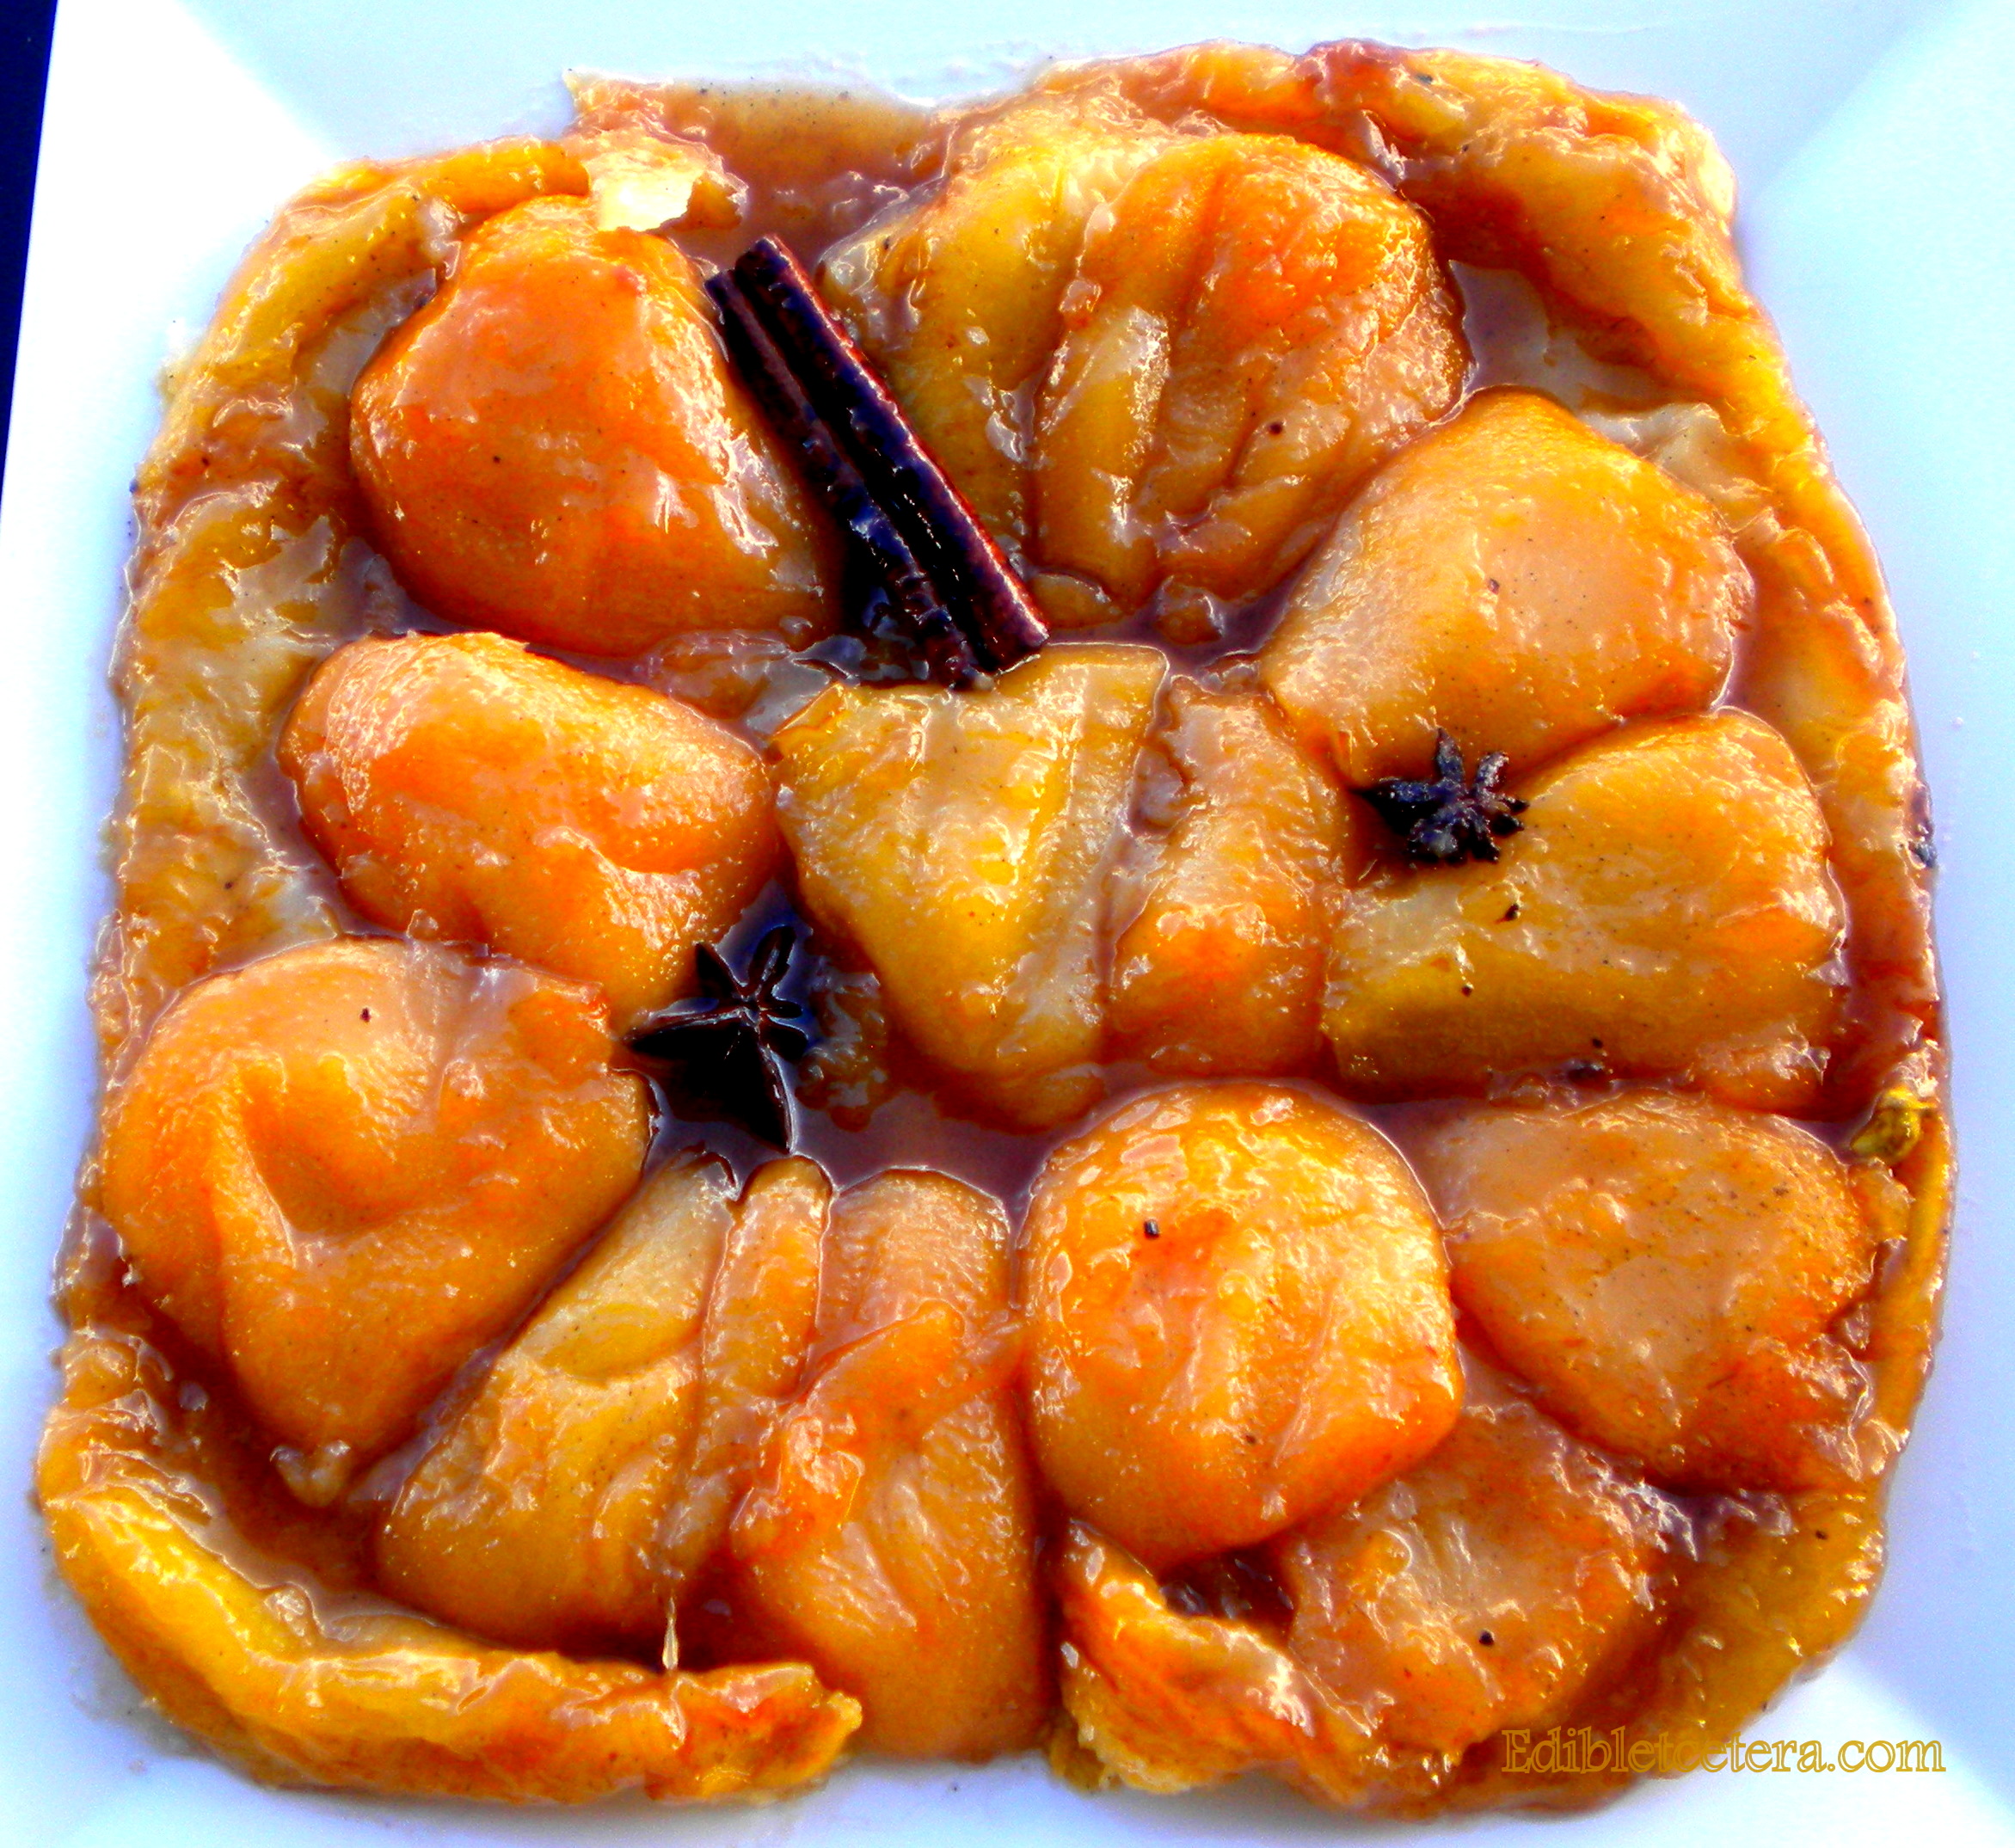
Spiced Pear Tarte Tatin


")


")


